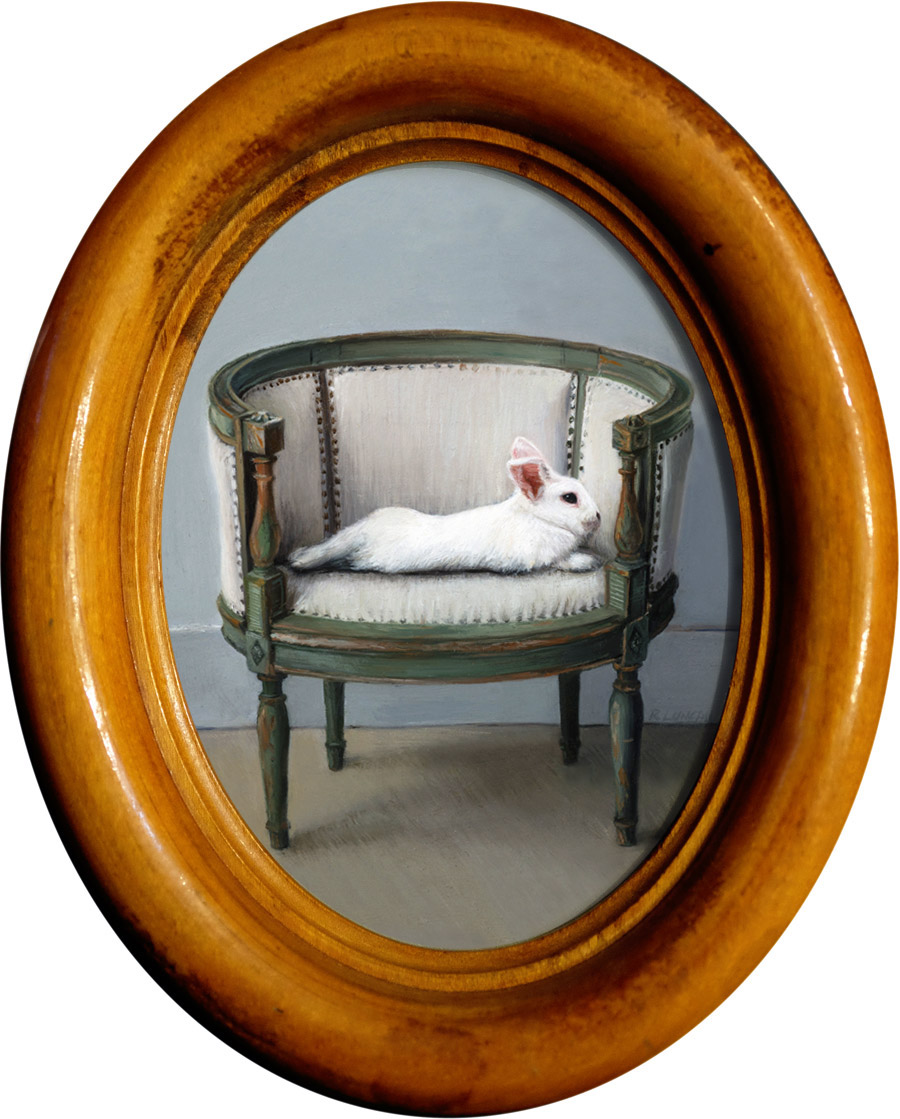
Reclining Rabbit – November 2015, oil on aluminum, 4.25″ x 3.25″
I’m a huge fan of miniature artwork, and the ease and affordability of shipping them safely is one reason why.
Miniature paintings are great for so many reasons. They are intimate and powerful, easy to hang in any house, and much more affordable to commission than larger works (even with a custom, hand-finished frame).
And while miniature paintings are cheaper and easier to ship than larger artwork, they also need some special treatment.
Medium-sized paintings typically ship wrapped in plastic and 2″ of bubble wrap surrounded in a cardboard exterior . That will normally be enough for small miniatures as well, but because the packages are small, they are more likely to get tossed around, stacked, and generally treated roughly.
Years of working in a museum have trained me to go the extra mile in prepping artwork for shipping.
Here’s how I packaged this miniature painting to ship across the country to her new home.
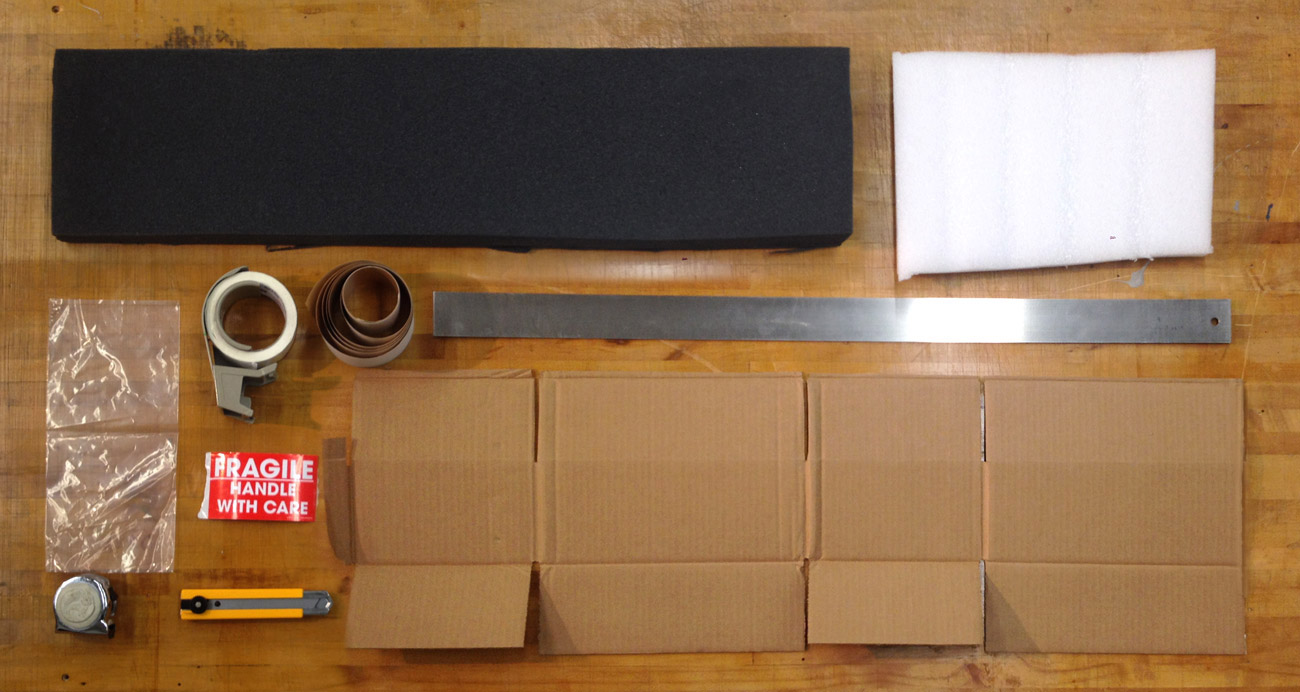
Art packing materials
Materials
- 2.25″ grey foam *sub wadded brown paper for more environmentally friendly packing
- Ethafoam (Styrofoam can also be used) the thickness of the artwork (you can glue multiple layers together)
- plastic bag (polyethylene or food grade)
- tape measure
- packing tape
- straight edge
- “fragile” sticker
- utility knife (I like Olfa)
- cardboard (box)
Step-by-Step
- Determine what size box is needed. Measure the painting and add 4″ to get the length and width. Stack your grey foam, Ethafoam and one layer of cardboard, then measure to get your box’s ideal height. *I’ve been subbing brown paper for the grey foam more recently to make my packing materials more environmentally friendly. If you do this, leave two inches of space for both above and below your artwork and use double thick cardboard. Add a second layer of cardboard under your artwork.
- Find or cut out the box. A box that is within a few inches (but at least 2″ larger on all sides)
of the painting is ideal. The height should be trimmed to fit the height of the foam exactly. If you don’t have a box handy, you can make your own: the image above shows how you would cut a box from a flat piece of cardboard. To get the creases for the bends, use a bone scorer or completely retract the blade on the utility knife and use the (dull) metal edge. Tape the bottom of the box together.
- Cut each piece of foam and cardboard to fit. I also like to take out a corner notch in the top layers to make unpacking a little easier. My favorite knife is the Olfa utility knife with a 25mm blade. Fantastic knife for cutting foam (and everything else). Make sure to keep your fingers out of the way of the blade, these knives are incredibly sharp!
- Cut a hole in the Ethafoam that will snugly fit the painting.
- Wrap the painting in plastic, making sure to seal the
edges completely and that the surface of the painting does not come into contact with the plastic. If the painting is unframed and very dry, wrap
with Dartek first, then plastic.
- Phew! Everything’s cut and now it’s time to put it all together.
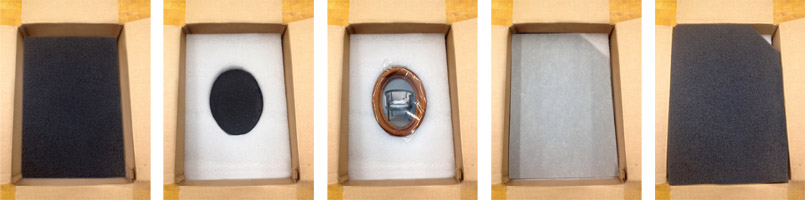
Packing miniature paintings, step by step
7. Remember to add the packing slip and a thank you note, then say your goodbyes and seal it all up. Make it official with a fragile sticker, and it’s ready to post out to it’s new home!

If you’re interested in receiving your very own hand painted miniature, contact the artist to commission one just for you or sign up for the monthly newsletter for a preview of the newest painting up for sale!