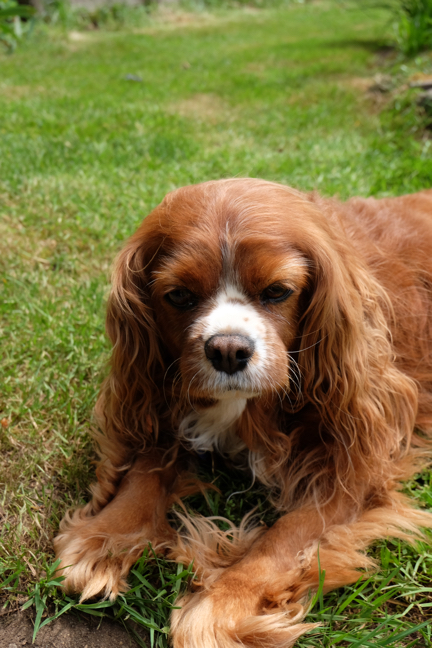
My King Charles Cavalier Spaniel, Mona, has posed for us to help demonstrate how to get the best photos for your pet portrait.
-
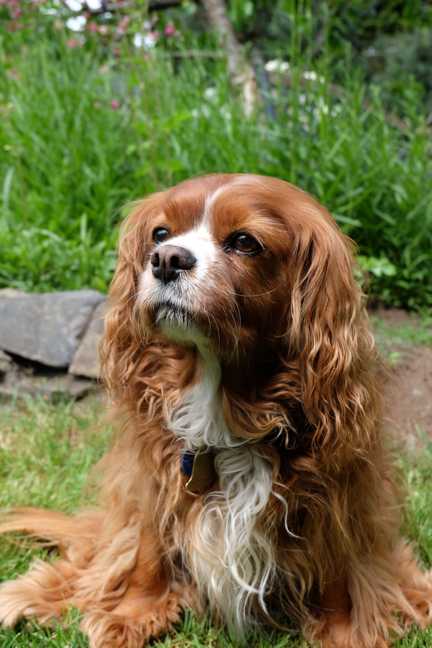
Take photos outside.
Cloudy days are ideal and you can shoot at anytime during the day. If it’s sunny out, it’s best to plan to photograph around an hour after sunrise or an hour before sunset. Give yourself around 30 minutes for a photo session. The first image of Mona below is from a huge image file, but it’s a blurry image without a lot of detail because it was taken inside.
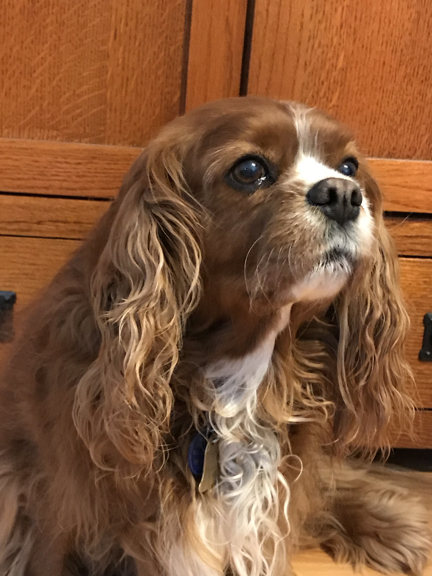
Photo taken inside
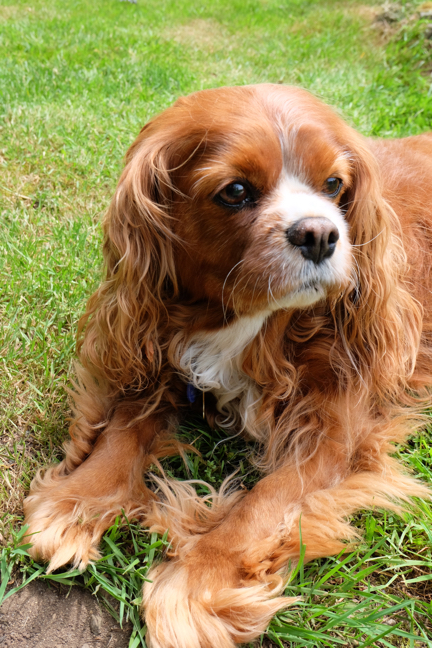
Photo taken outside
-
Get on your pets level.
Though my ten year old Mona does look awfully cute and puppy like in the first image below, images taken from above distort the body and feel kind of generic. I find images shot from closer to a dogs eye level feel more intimate and show a clearer picture of who your unique furry friend is.
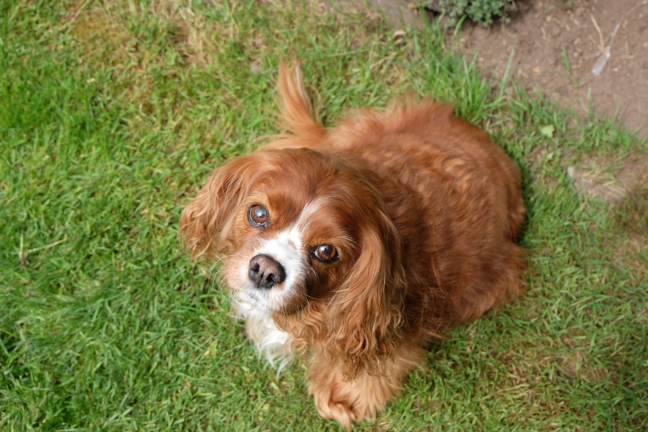
photographed from above
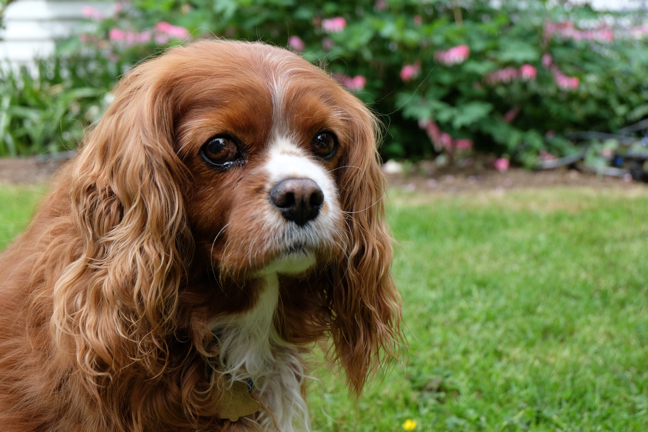
Image taken from Mona’s eye level
-
Get up close.
The first shot below looks great at first glance, but it’s shot from too far away. When zooming in on the face, you can see that the fine details are lost. Capturing the little details if part of what makes your portrait special and if the detail isn’t in the photo, I can’t paint it.
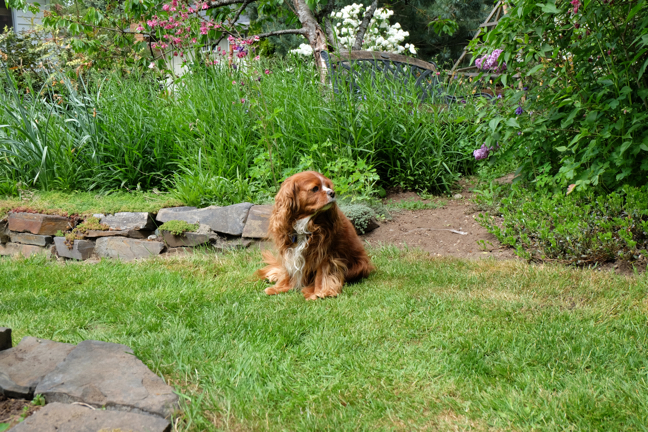
Photo taken from far away
Far away image zoomed in

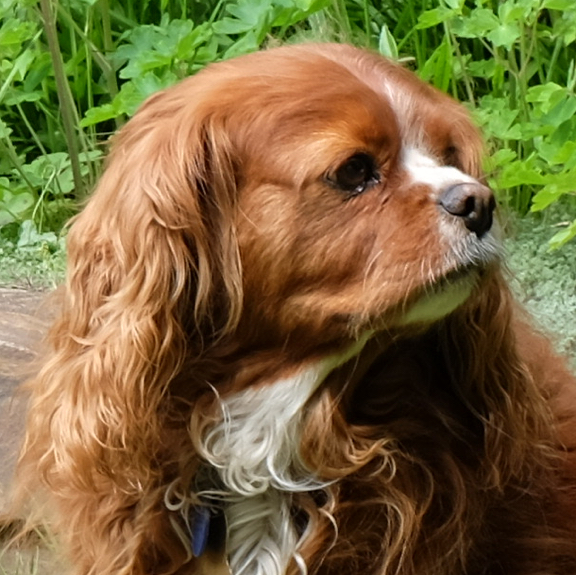
Photo taken up close
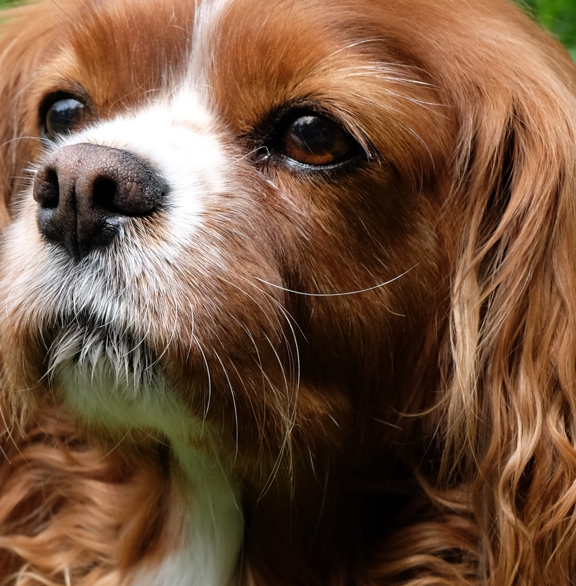
Up close image zoomed in
-
Light up their eyes.
A little light reflected in the eyes gives your pet a lively alert expression. Mona looks like she’s kind of sad or very sleepy without that light. Even on a cloudy day you should be able to get a reflection. If you’re having trouble, try to position the sun behind you.
No reflection in the eyes
Reflection in Mona’s eyes
-
Take lots of photos.
When trying to get the perfect shot, I took over sixty images. Be patient and try lots of different angles. Block out 30 minutes to take photos and even if you feel like you got the perfect image 5 minutes in, keep shooting for the entire time.
-
Get a helper.
Not all dogs are as docile as Mona and having someone there with toys and treats helping pose your dog is a tremendous help.
-
Bonus tip.
Don’t forget to brush your dog’s hair! Mona had some tangles I missed before we took our photos. 😉
I look forward to seeing your images!! If you’re having trouble or if you’re unable to get new photos, contact me. Good luck!
Visit my Pet Portraits gallery to see some of my past pet portraits and see my tips for taking photos of your cat for a portrait. And now I’m going to have to make a portrait of Mona! Check back in a few months to see which image I end up choosing.
 Photographing your cat from a their eye level tends to make the image feel more intimate and it shows your cat without distortion. Cat’s do like to climb so you don’t always have to get down on the ground to achieve this.
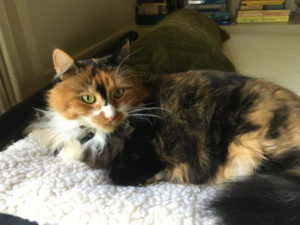 Natural light is ideal and its best if the day is slightly overcast. Cats are usually indoor creatures, but steering them towards a window will achieve the desired effect. Not only does natural overcast light help avoid harsh shadows, it gives me a more accurate representation of color for the fur and eyes. Try to pose them so that they get the light to twinkle in their eyes for a lifelike appearance.
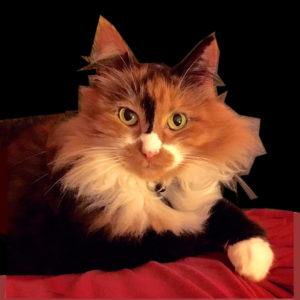
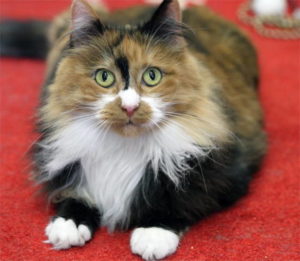 Hi resolution images are a must but if most of the picture is just background, I’m not going to get any detail (unless the landscape will be a part of the painting!). Never compress images before sending them and fill the frame with your cat as much as possible for the most detail. Getting the correct texture of your cats fur and the subtle color changes in the eyes is impossible if the image is blurry. Filling the frame with your cat gives me all of the details that are so fun to paint and to look at. Use the zoom feature on your camera to help you get close without attracting too much attention.
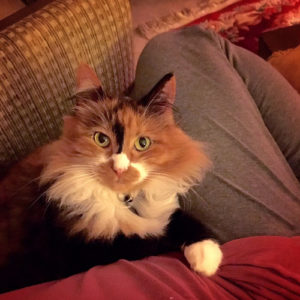
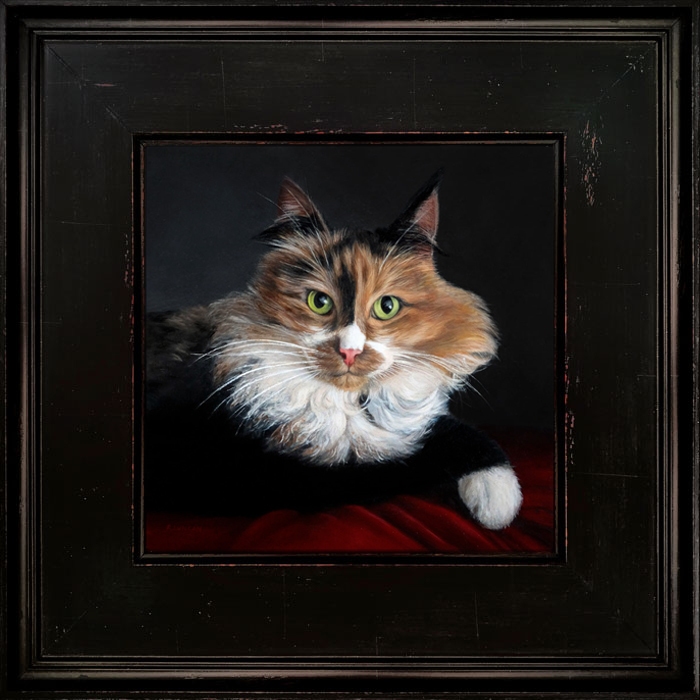
 My mock-up’s are constructed digitally and they help give a sense of what the painting will look like. This mock-up was submitted with the note that the color and fine details would be taken form another image (the one used to demonstrate “natural light” above).