post

Introducing Artist Joey Bates

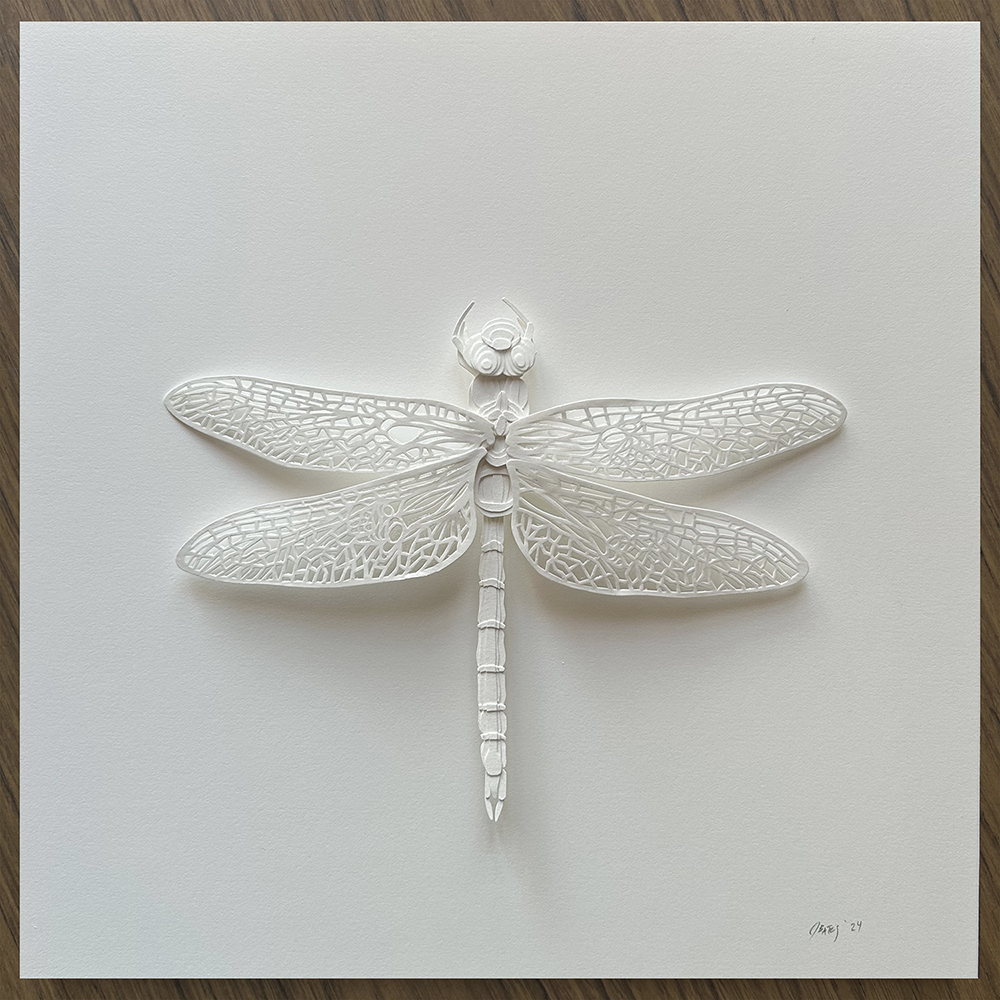
I’m thrilled to introduce you to a dear friend and incredibly talented artist, Joey Bates, who has recently taken on the Monthly Miniature challenge alongside me. Joey and I first met years ago in Seattle at a weekly open studio co-hosted by artist Tim Marsden and myself. Though Joey now lives in Sweden, we’ve been able to rekindle that creative exchange through Signal, thanks to a fellow artist and mutual friend, Susan Lewandowski.

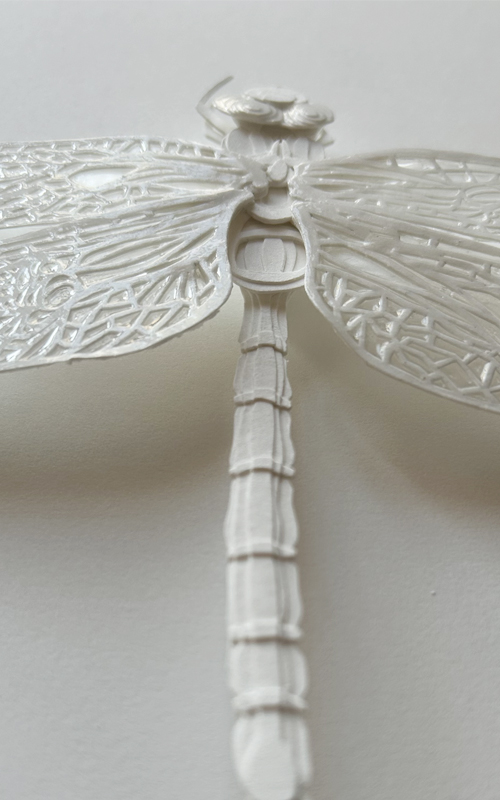
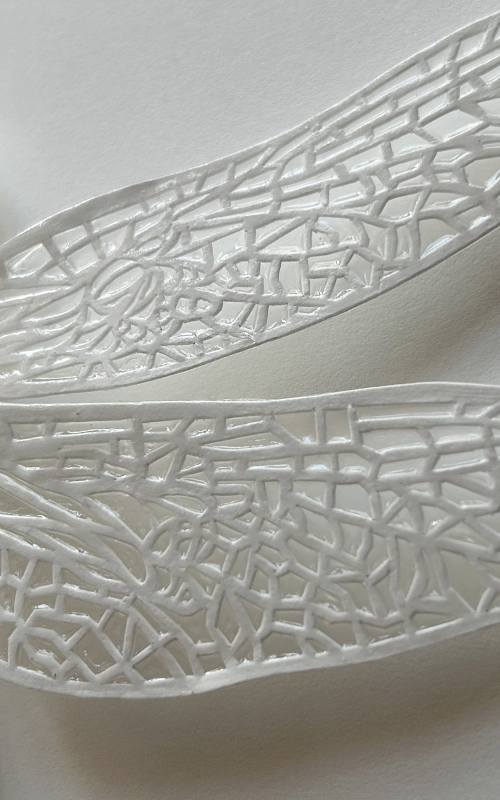
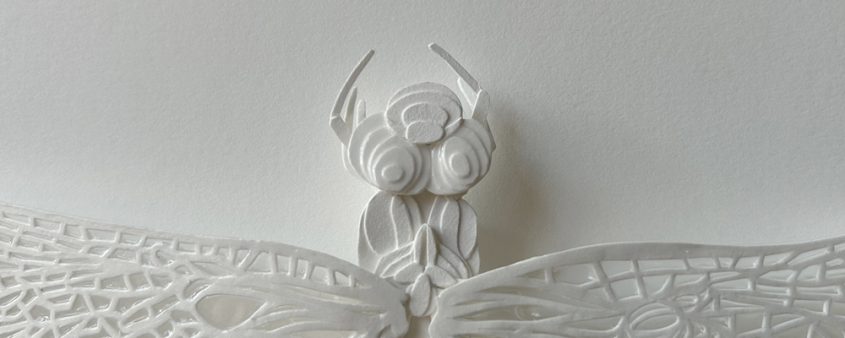
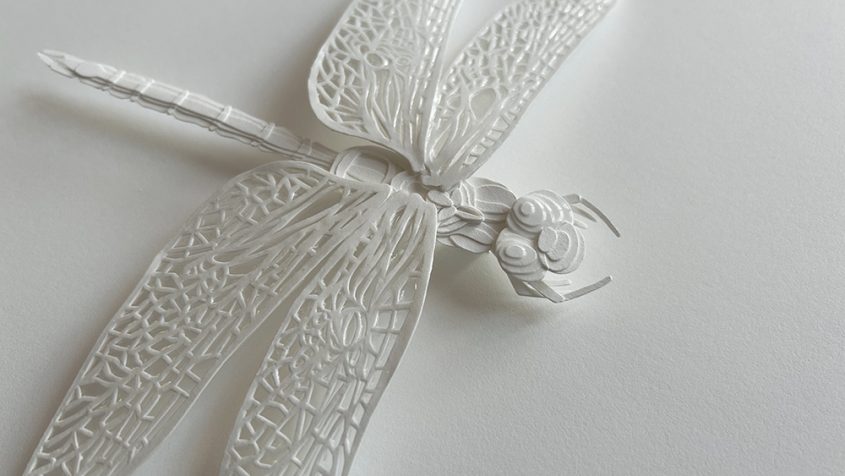
This month, Joey and I decided to take on a shared theme: dragonflies. Scroll down to see his November miniature—a stunningly intricate cut-paper dragonfly that showcases his signature precision and attention to detail.

If you’re not yet familiar with Joey’s work, I can’t recommend it highly enough. His pieces are thoughtful, beautiful, and quietly powerful. I’m so excited to see where the Monthly Miniature journey takes him, and I hope you’ll follow along too.

You can contact Joey directly to inquire about purchasing this piece, sign up for his newsletter to stay updated on new work, and be sure to check out his brand-new flower shop that just opened!

post

Painting cows: Going afield for inspiration, and preparing for an exhibition

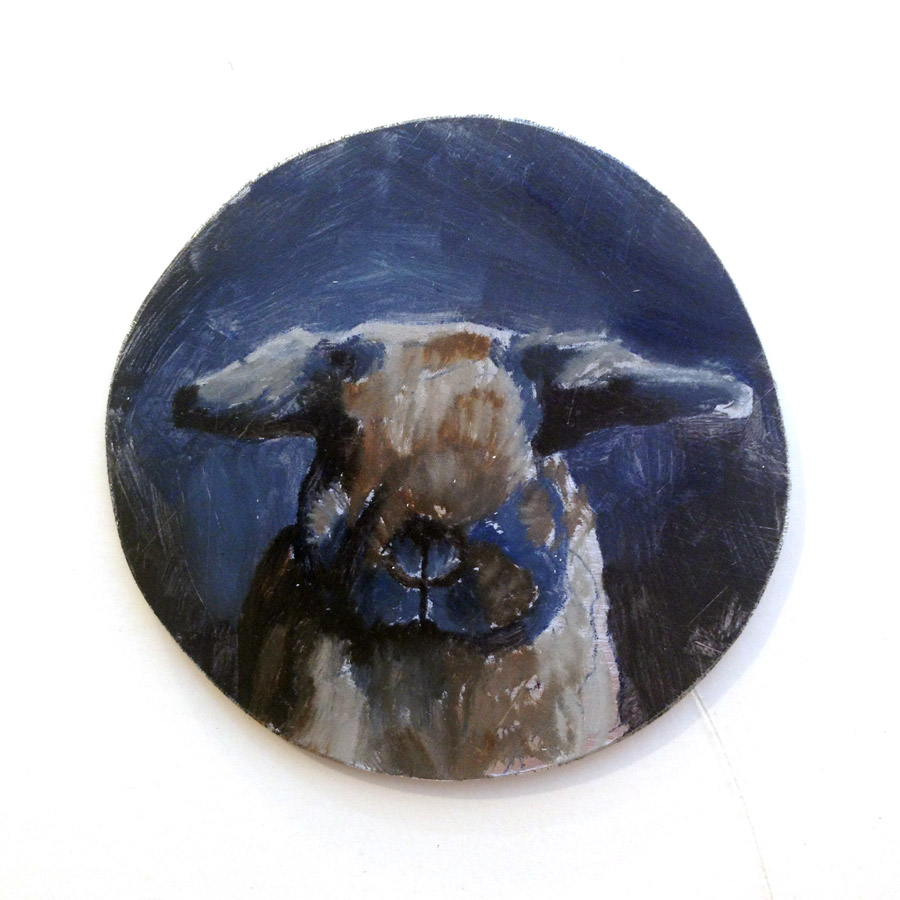
The Nashville area has become a special place for me. Two of my sisters and my adorable nephew and niece are there, so it’s become a go-to spots for family travel. And just outside Nashville, I have discovered the wondrous Holly Belle on Instagram. Even if you didn’t grow up with a dad that brought home a baby cow in the back of the station wagon (true story!), Holly’s “puppy cow” jumping around in the dining room of her house is sure to make you happy. Her mini cows have inspired my paintings and drawings in the recent past, and I have three paintings of cows started, shown above in various states of completion.

Please visit my Into the Country series to see more paintings of animals.

March In the Artist’s Studio: Commissioned Paintings and Custom Frames

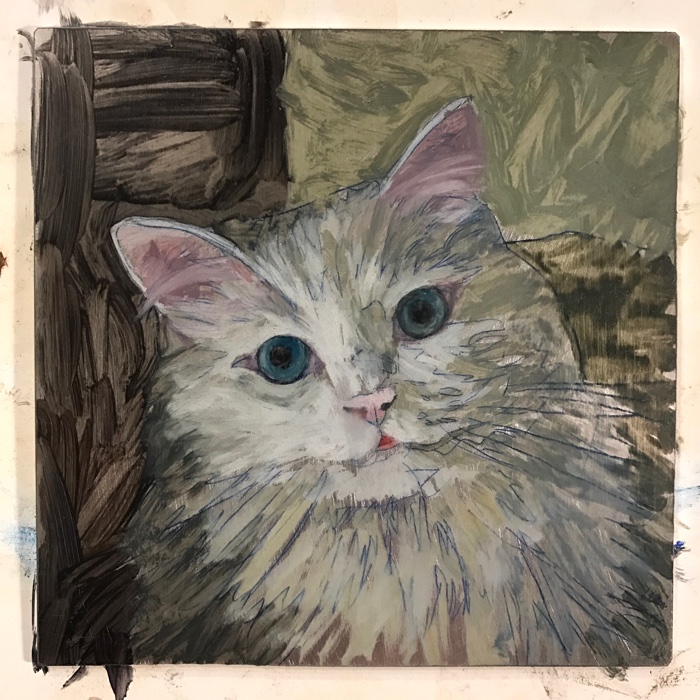
pet portrait painting of cat in progress by Rebecca Luncan

Shiro in progress
5″ x 5″
oil on aluminum

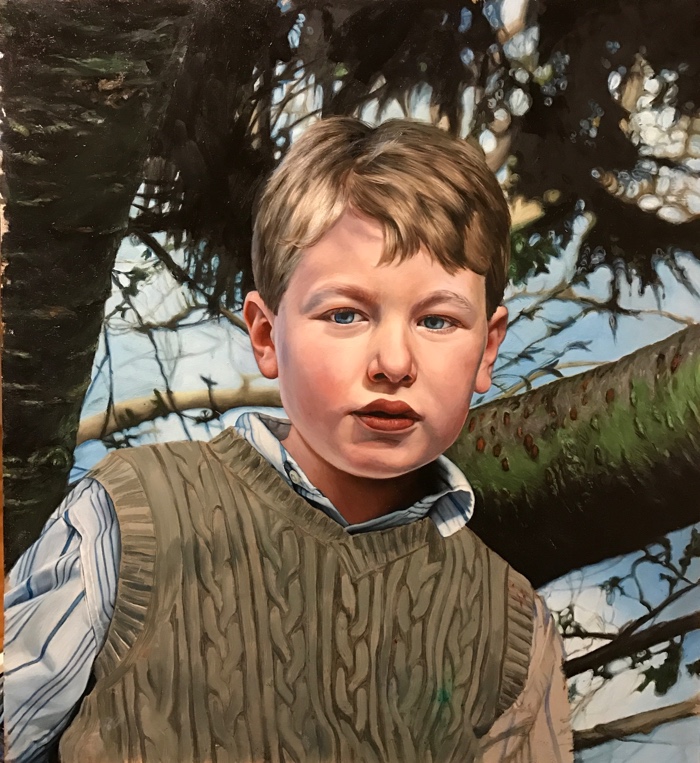
Child Portrait painting in progress by Rebecca Luncan

Robbie in progress
oil on aluminum
17″ x 15″

Painting in a traditional style, takes many layers of paint and lots of time.

Visiting an artist’s studio, you will see multiple painting in the various stages of completion. By first doing a thin coat of paint and mixing more oil medium with my paints for each successive layer (known as working lean to fat), my paintings will last for many hundreds of years without cracking or buckling. Not all artists care about the longevity of their paintings, but for me, I care out of respect for what I’m doing and for the work countless others have done throughout the long history of painting to figure out best practices. It also creates a rich depth that you can’t get with just one layer of paint!

Please take a look at my pet and human portrait galleries and visit my Commissions page to learn more about my commission process!

Octagonal picture frame

Octagonal picture frame in progress

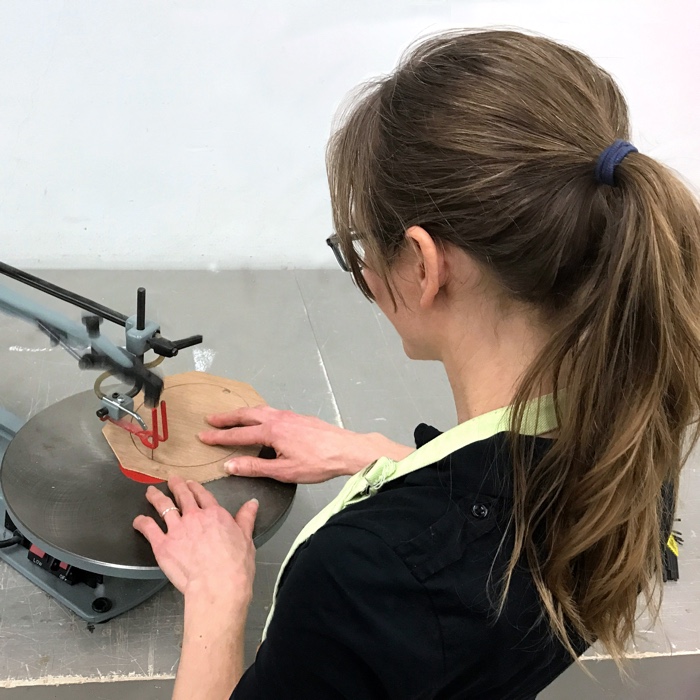
Artist Rebecca Luncan cutting a liner for a custom frame on a scroll saw

Cutting a liner for a custom frame

An artist’s studio isn’t only for painting!

I often hire local framers (my favorite in Seattle is Gallery Frames) but sometimes I like to make and finish them myself. This frame, pictured in multiple parts above, will be for an oval family portrait I made several months ago. It took some brainstorming to figure out the perfect frame! See the post with the completed frame.

I hope you’ll check back soon to see how these pieces progress!

On the Easel: January Commissions

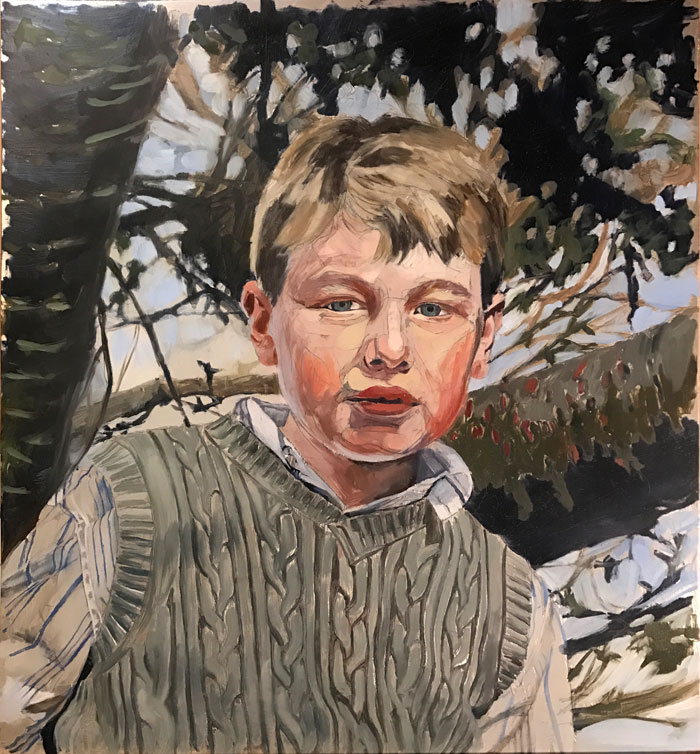
Child Portrait painting in progress by Rebecca Luncan

Portrait painting of Robbie in progress


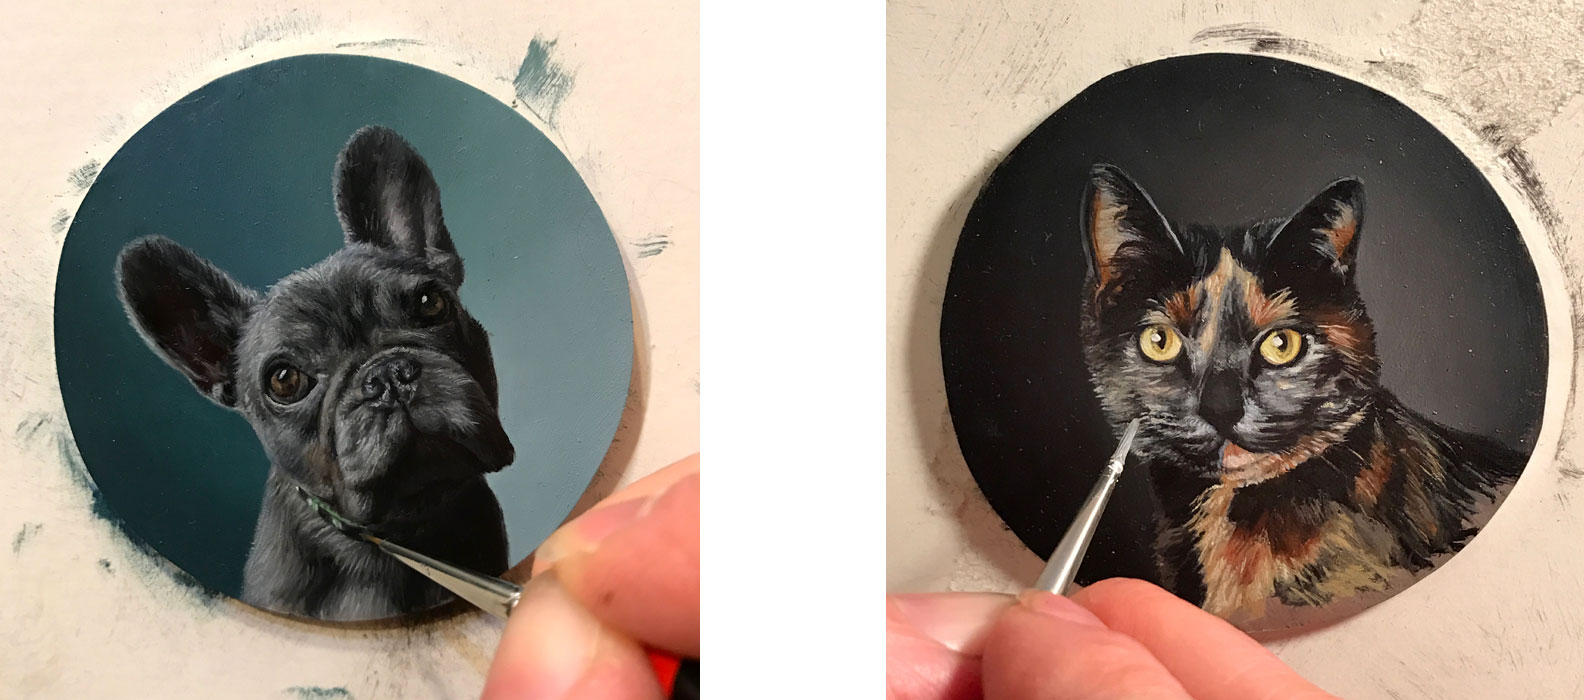
French bulldog and Cat miniature portrait paintings in progress by Rebecca Luncan

Henry (left) and Corinna (right) miniature paintings in progress

I’m very excited to start off the year with three new commissions

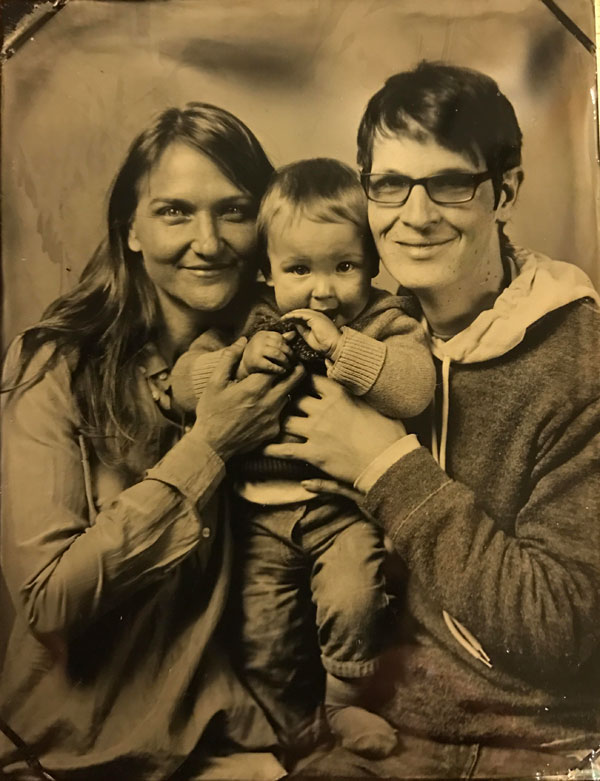
I book out my commissions almost a year in advance, so I’ve had months to look forward to working on these paintings. The miniature of Henry and Corinna should go pretty quickly, but Robbie will take more time because not only is it a much larger painting filled with a wide variety of details, painting people is much more difficult than painting animals. I’m especially excited at how the subjects for this month are varied, but so in tune with what I love to paint.

I hope you’ll check back to see how the paintings progress and you can see some finished pieces in the Portraits gallery and Pet Portraits gallery.

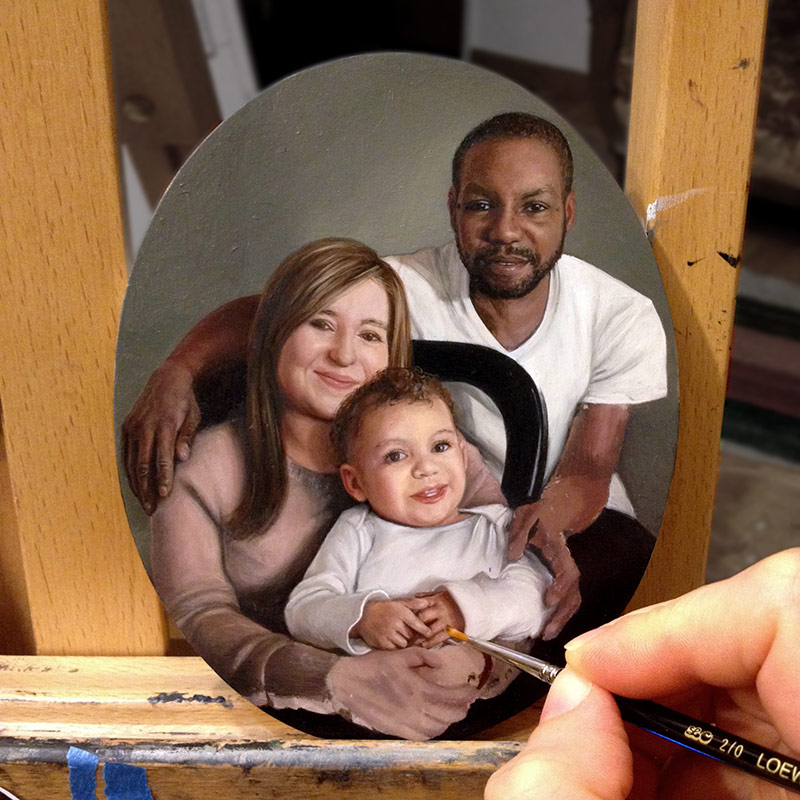
On the Easel: A Family Portrait in Miniature

Smith-family


Painting an eye about the size of a grain of rice takes quite a lot of concentration.

Though I usually like to have lots of paintings going at once, this August most of my time will be spent working on a miniature 5″ x 6″ family portrait. Once I had the underpainting finished, I realized this painting would take a lot of focus to finish. I’ve been using every spare minute to move this little portrait along, and as long as I keep holding my breath at just the right times, it looks like it will turn out nicely!

It’s almost done, so check back soon to see the finished piece!

On the Easel: July In Progress

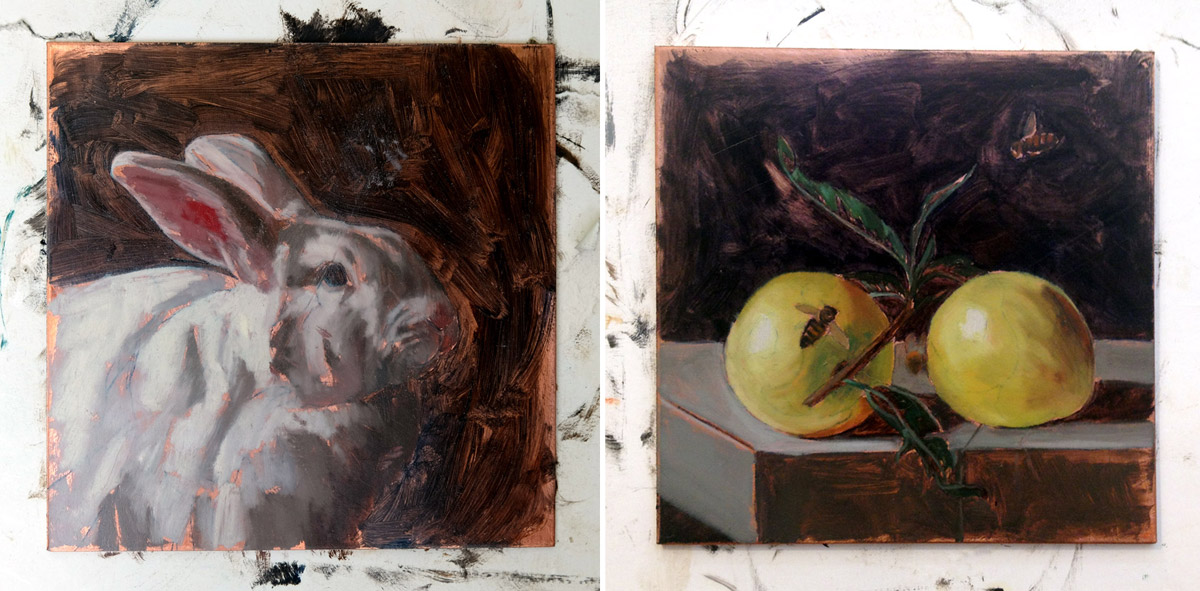
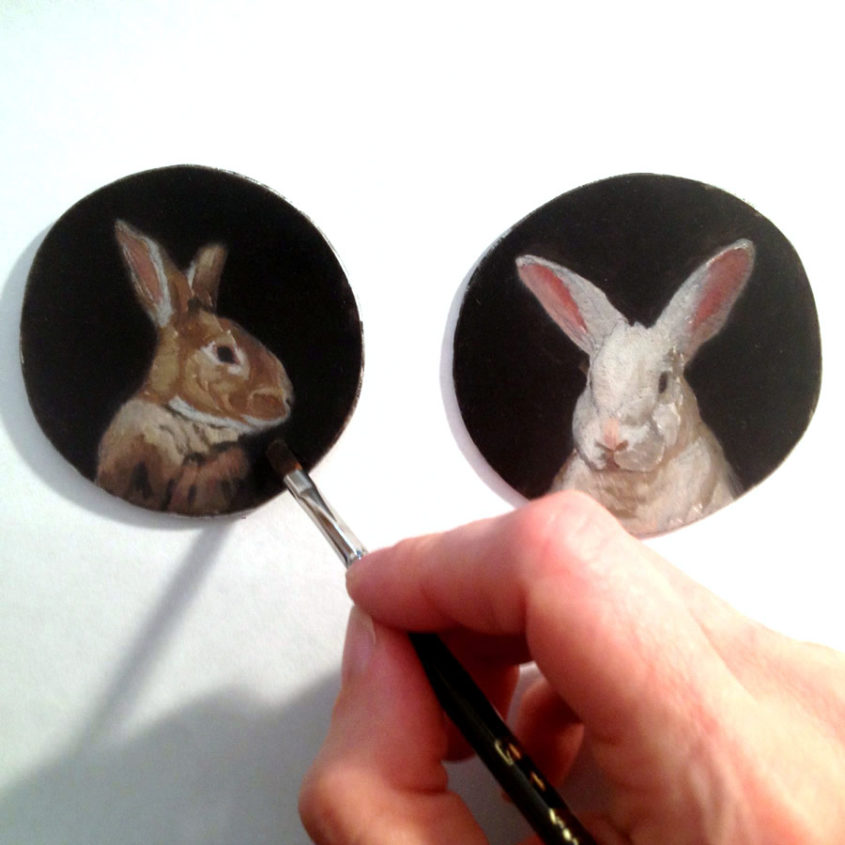
Works In Progress, Monthly Miniatures Rabbit and Honey Bees, oil on copper, 4" x 4" each

Works In Progress: Monthly Miniatures ‘Rabbit’ and ‘Honey Bees’, each 4″ x 4″ painted in oil on copper

Busy as a bee! Working on two Monthly Miniatures at once.

Being a new mom means I really have to make good use of my limited studio time, and I have to be ready to use any spare moment. Though I am already the sort of artist to work on several pieces at once, it’s now especially useful for me to have several paintings in the works. Working in oils, one layer has to dry before the next one starts, which means lots of downtime where I can’t work, if I’m only working on one painting at a time. The drying time can be up to three days (‘Titanium White’ is the worst, it can take a week to dry if it’s cold in the studio). Though I only plan to finish the bees this month, I already have a head start on September’s miniature painting, and I’m excited to see it take form (‘Rabbit,’ above)!

Work In Progress, Rabbit Portrait, oil on copper, 2" x 2" by Rebecca Luncan

Work In Progress, Rabbit Portrait, oil on aluminum, 2″ x 2″

Even more rabbits for a group show in October at Childhood’s End Gallery

I’m really excited to be a part of an anniversary exhibition featuring small works at Childhood’s End Gallery in Olympia this fall. This little guy I found has lots of great colors in his fur, and I’m anxious to finish it! It will be displayed along with two portraits of my rabbits, Charlie and Ellie: I’ll post them all together when they’re ready!


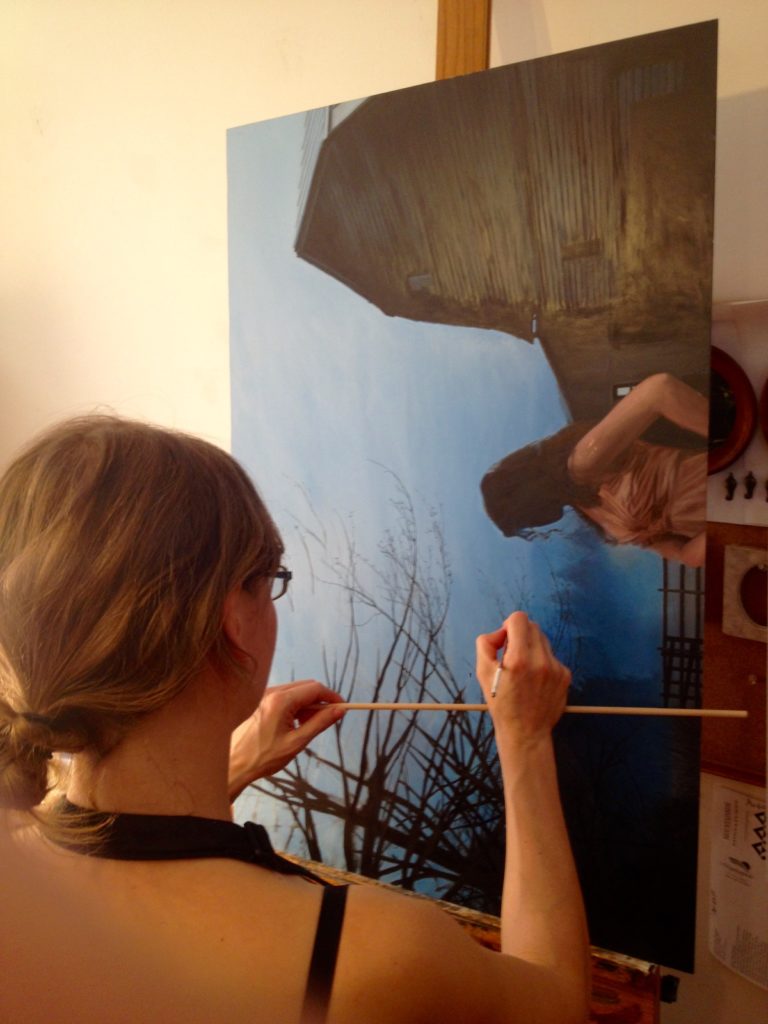
artist Rebecca Luncan working in the studio on figurative oil painting

Work in progress, Oil on aluminum, 24″ x 36″

Steady as she goes! Progress on my figurative painting series

Somehow I’ve officially been working on this painting for a year! It’s large and detailed, and there has been a lot on my plate. But I am eager to wrap it up and continue with the series, so I have set a deadline to finish it by the end of the year! Expect to see more progress shots in coming months.

On the Easel in June

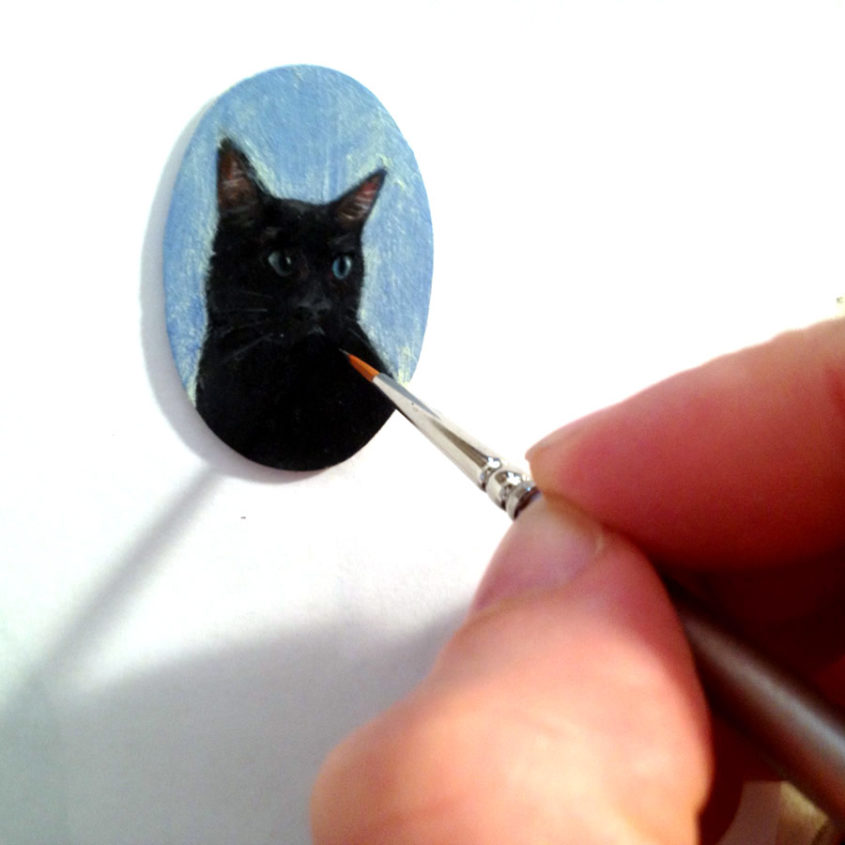
Black-cat-in-progress

Black Cat in progress – experimenting with background treatments

Despite my hungry little bundle joy, (i.e. my adorable, two month old son Isaac), June is off to a great start in the studio. Here’s a peak at four little paintings I’m working on right now.

The first of the lot is of Jolly Rajah, the black cat. I actually started this one months ago as an experiment related to the monthly miniature series (I considered a series of black cats). I had considered this little one finished, and originally it featured a window with a tree in the background. But it didn’t seem right to me, and I ended up going with the Into the Country idea instead. After contemplating it for a while, I’m reworking this little guy. I’m trying out a simplified background now, working to define his features a bit more, and also to create a stronger focal point at his lovely eyes.

I love the beautiful little 1920’s brass and celluloid miniature frame I have for it, so I’m hoping to salvage the painting. I’m also hoping that working through this painting, will help me get a better idea of what will work in the fourteen remaining frames I’ve been collecting in this style. Here’s a link to the finished painting!


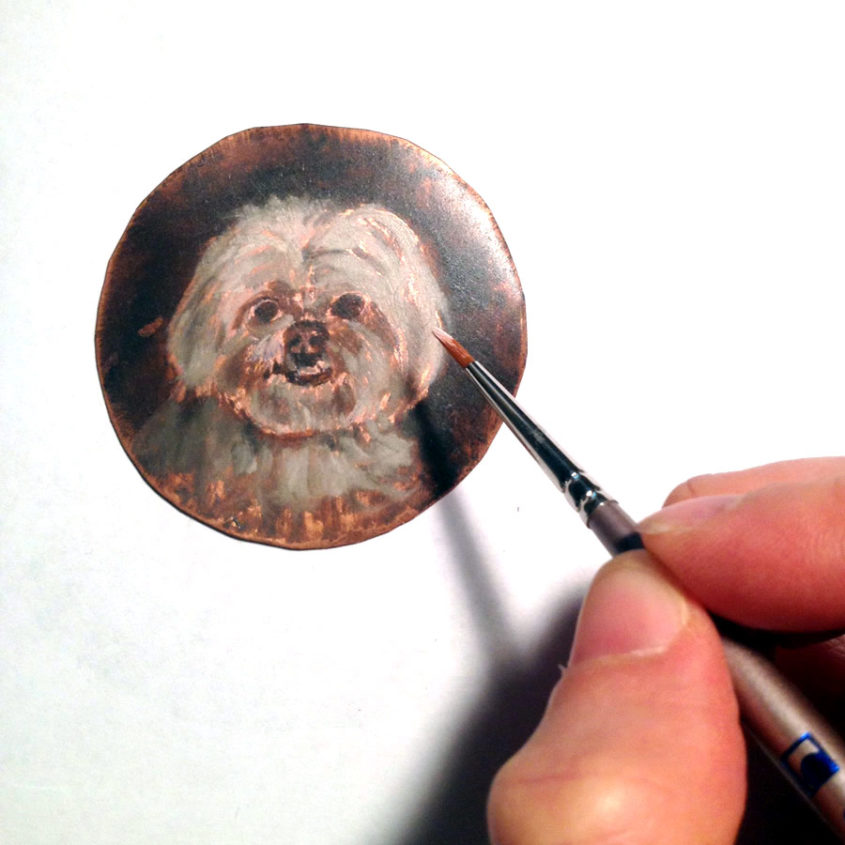
Oliver-in-progress

Commission In Progress

I love painting animals, but I have to admit to a special soft spot for dogs

This little guy is my top priority in the studio right now. He’s the first of my June Miniature Pet Portrait Specialand will be completed in time for a special occasion. I have added a couple coats of paint since taking this photo, and I plan to have it finished by the end of the week so it can be shipped out to its new home right away. 


miniature rabbit paintings in progress

Rabbit Couple in progress

Rabbits for a group show in October at Childhood’s End Gallery

I told you there would be more rabbits! It’ll be hard to separate these two paintings, and I’m considering selling them as a pair. Once they’re finished, they’ll go in a lovely pair of matching antique frames I’ve been saving for just the right couple. I’m planning on three or four more rabbit portraits and will be on the lookout for new models! Contact me if you have a willing bunny!

Visit Rebecca in the Studio!

Seattle independent filmmaker Aaron Bourget has edited a video from a recent visit to the painting studio.

It’s difficult to be in front of a camera (especially when 6 months pregnant!) and Aaron really helped make me feel more comfortable. I hope you enjoy this glimpse into what’s hanging in the studio, and what I’m working on!

Thank you Aaron!

Packing November’s Reclining Rabbit Painting for her Cross Country Journey

Reclining Rabbit oil painting miniature by Rebecca Luncan

Reclining Rabbit – November 2015, oil on aluminum, 4.25″ x 3.25″

I’m a huge fan of miniature artwork, and the ease and affordability of shipping them safely is one reason why.

Miniature paintings are great for so many reasons. They are intimate and powerful, easy to hang in any house, and much more affordable to commission than larger works (even with a custom, hand-finished frame).

And while miniature paintings are cheaper and easier to ship than larger artwork, they also need some special treatment.

Medium-sized paintings typically ship wrapped in plastic and 2″ of bubble wrap surrounded in a cardboard exterior . That will normally be enough for small miniatures as well, but because the packages are small, they are more likely to get tossed around, stacked, and generally treated roughly.

Years of working in a museum have trained me to go the extra mile in prepping artwork for shipping.

Here’s how I packaged this miniature painting to ship across the country to her new home.

Art packing materials

Art packing materials

Materials

  • 2.25″ grey foam *sub wadded brown paper for more environmentally friendly packing
  • Ethafoam (Styrofoam can also be used) the thickness of the artwork (you can glue multiple layers together)
  • plastic bag (polyethylene or food grade)
  • tape measure
  • packing tape
  • straight edge
  • “fragile” sticker
  • utility knife (I like Olfa)
  • cardboard (box)

Step-by-Step

  1. Determine what size box is needed. Measure the painting and add 4″ to get the length and width. Stack your grey foam, Ethafoam and one layer of cardboard, then measure to get your box’s ideal height. *I’ve been subbing brown paper for the grey foam more recently to make my packing materials more environmentally friendly. If you do this, leave two inches of space for both above and below your artwork and use double thick cardboard. Add a second layer of cardboard under your artwork.
  2. Find or cut out the box. A box that is within a few inches (but at least 2″ larger on all sides)of the painting is ideal. The height should be trimmed to fit the height of the foam exactly. If you don’t have a box handy, you can make your own: the image above shows how you would cut a box from a flat piece of cardboard. To get the creases for the bends, use a bone scorer or completely retract the blade on the utility knife and use the (dull) metal edge. Tape the bottom of the box together.
  3. Cut each piece of foam and cardboard to fit. I also like to take out a corner notch in the top layers to make unpacking a little easier. My favorite knife is the Olfa utility knife with a 25mm blade. Fantastic knife for cutting foam (and everything else). Make sure to keep your fingers out of the way of the blade, these knives are incredibly sharp!
  4. Cut a hole in the Ethafoam that will snugly fit the painting.
  5. Wrap the painting in plastic, making sure to seal theedges completely and that the surface of the painting does not come into contact with the plastic. If the painting is unframed and very dry, wrapwith Dartek first, then plastic.
  6. Phew! Everything’s cut and now it’s time to put it all together.

Packing miniature paintings, step by step

Packing miniature paintings, step by step

7. Remember to add the packing slip and a thank you note, then say your goodbyes and seal it all up. Make it official with a fragile sticker, and it’s ready to post out to it’s new home!

Ship-Finished

If you’re interested in receiving your very own hand painted miniature, contact the artist to commission one just for you or sign up for the monthly newsletter for a preview of the newest painting up for sale!